Troubleshooting and testing
- Click the play icon (top right) to run your game.
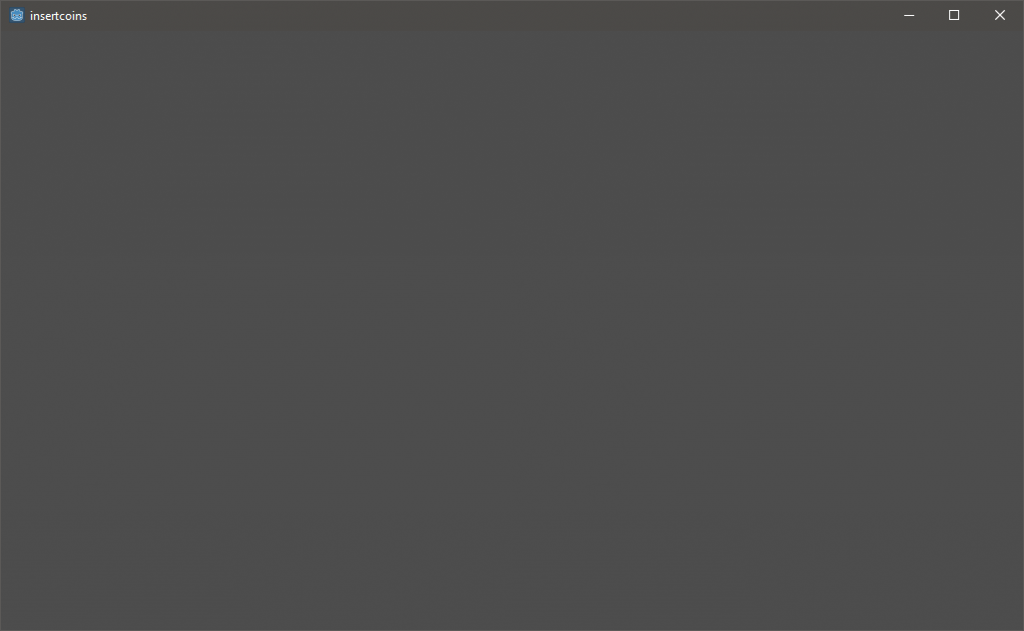
You’ll start off with your game’s splash screen with the ‘insert coin(s)’ button. After two clicks, you can open your previously installed Lightning wallet on your phone and pay your first invoice! If everything went well you will be presented with a gray ‘game’ screen. This is the part of your game behind your paywall.
- If that didn’t work out right away, your QRcode might not generate. Fix this by making sure the ‘zint.exe’ file is in the folder you configured in line 3 of ‘qrcode.gd’. Fiddle around with line 14 as well. Uncomment this line in ‘qrcode.gd’ and do some testing (remove the “#” character).
- If you do see a QRcode in the ‘invoice’ panel your server connection might need some additional love. Test if the server connection works properly. To do this uncomment line 23, 57, 59 or 60 of ‘qrcode.gd’.
- More problems? Make sure your Base64 conversion is correct. Check if you used a UTF-8 destination charset by encoding your ‘api-token:password’ to UTF-8 before you encode to Base64. For example: ‘api-token:secretpassword’ should encode to ‘YXBpLXRva2VuOnNlY3JldHBhc3N3b3Jk’.
Still no success? Try these commands on your server and from another location. Make sure you start Lightning Charge with the '–host 0.0.0.0' parameter as mentioned in requirements. This is required for remote access. Or try debugging using these commands with the credentials, host and port you configured with Lightning Charge:
CHARGE_URL=http://api-token:secretpassword@localhost:9112
CHARGE_URL=http://api-token:secretpassword@10.0.0.1:9112 (if remote)
curl $CHARGE_URL/info
curl $CHARGE_URL/payment-stream
curl $CHARGE_URL/invoices
Once a payment came through you’re ready to build your game, starting with the ‘game.tscn’ Scene.
If you made it all the way to this point: Congratulations! Please suggest improvements on github.
Happy game monetization!